How to Make Your Own Nut Milk
If you’ve ever been told that you need to eliminate dairy, it can seem overwhelming at first. Many of my acupuncture patients with digestive and menstrual issues do better without dairy. Nut milk is a good starting point for many other dairy-free items.
Have you ever tried to make your own nut milk? It’s actually very easy and quick. With the use of a nut milk bag, you can get away with even the lowest quality blender. The bag will filter out large chunks so that your milk is silky smooth. Can’t eat nuts? Try making coconut milk instead.
The cost of the nuts for 1L of nut milk is about the same as the cost of 1L of store bought non-dairy milk. So why would you even bother making your own? Firstly, you have complete control over what goes into your nutty beverage. Secondly, it tastes like nothing you could dream of finding from a store bought milk. And finally, you’re left with pulp at the end which you can make use of, making this a more economical option overall.
So, what can you make with the leftover pulp?
- My New Roots raw nut pulp hummus
- Walnut pate
- Pancakes
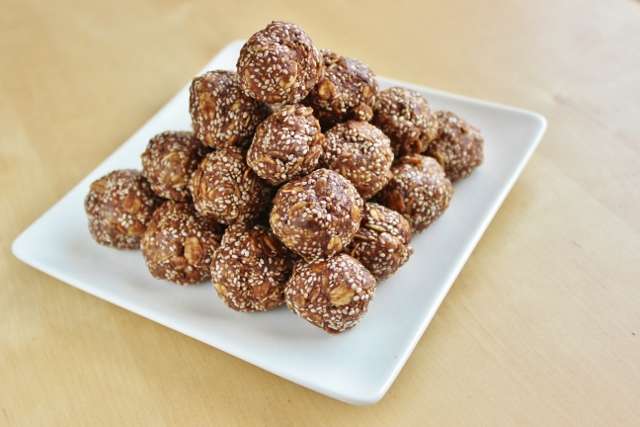
- Energy balls
- Crackers
Making the nut milk
What you need:
- Blender
- 1 L mason jar or glass container
- Nut milk bag
- Large bowl
- Fine mesh strainer (optional)
Ingredients:
- 1 cup raw walnuts
- 1 L water
- Vanilla (optional)
The night before, or 12 hours ahead of the time:
Place the walnuts in a large bowl and completely cover with water. You’ll need to add a few extra inches of water because the walnuts will expand.

The next day, or after 12 hours of soaking the nuts, drain the soaking water and give the nuts a bit of a rinse. Using a fine mesh strainer will make this easier, but it’s not a requirement.

Next, add the nuts to your blender with 1L of water. Cover and blend on the highest setting for 60 seconds.

Place the nut milk bag in a large bowl. Pour the contents of the blender directly into the bag. I hope you like getting your hands dirty because this step involves squeezing as much fluid out of the bag as possible.

And there you go, you’ve got yourself some nut milk! Pour it into a mason jar and seal. I personally like to pour the contents from the large bowl into my rinsed blender. This makes it easier to then pour into the mason jar without spills.

Because it contains no emulsifiers, the milk will separate in the fridge. Simply give it a good shake before pouring. Since there are no preservatives, it also has a shorter shelf life. Well sealed and in the fridge, it will last about 4 days.