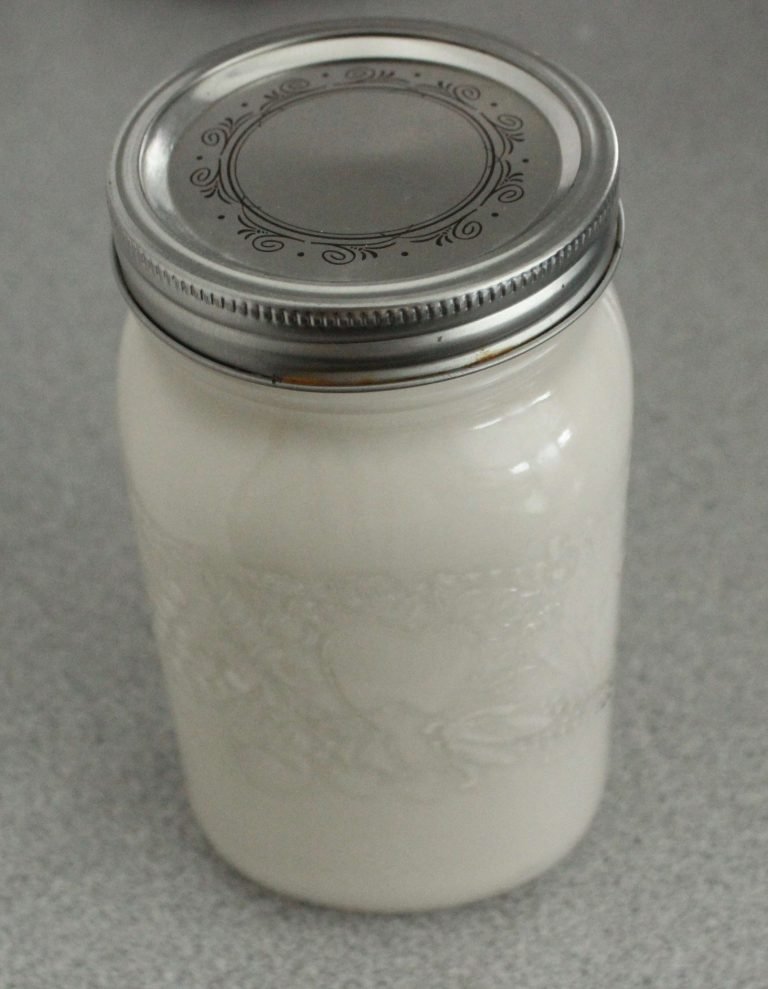
How to Make Your Own Nut Milk
If you’ve ever been told that you need to eliminate dairy, it can seem overwhelming at first. Many of my acupuncture patients with digestive and menstrual issues do better without dairy. Nut milk is a good starting point for many other dairy-free items. Have you ever tried to make your own nut milk? It’s actually…